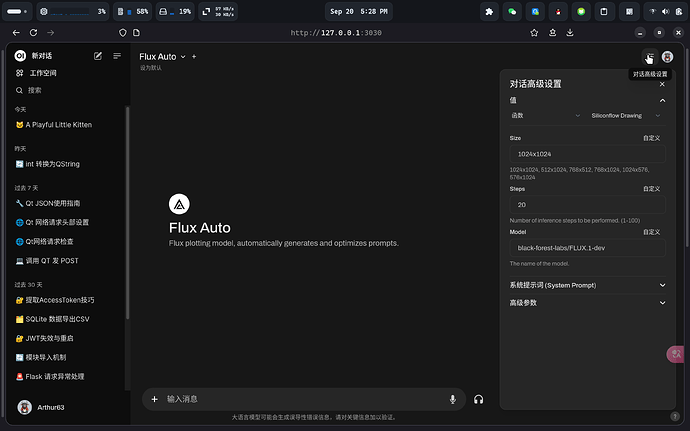
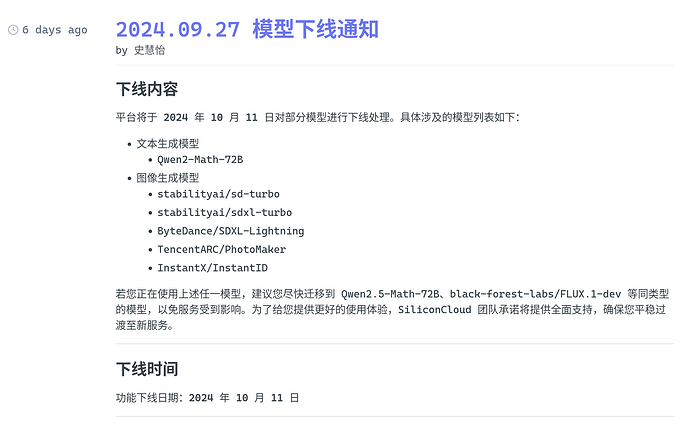
之前在 open webui 社区看到过一个类似的函数,感觉挺有意思的,就自己模仿着重写了一个:
import aiohttp
from pydantic import BaseModel, Field
async def emit(emitter, msg, done):
await emitter(
{
"type": "status",
"data": {
"done": done,
"description": msg,
},
}
)
class Filter:
class Valves(BaseModel):
priority: int = Field(
default=0,
description="Priority level for the filter operations.",
)
api_url: str = Field(
default="https://api.siliconflow.cn/v1",
description="Base URL for the Siliconflow API.",
)
api_key: str = Field(
default="",
description="API Key for the Siliconflow API.",
)
class UserValves(BaseModel):
size: str = Field(
default="1024x1024",
description="1024x1024, 512x1024, 768x512, 768x1024, 1024x576, 576x1024",
)
steps: int = Field(
default=20,
description="Number of inference steps to be performed. (1-100)",
)
model: str = Field(
default="black-forest-labs/FLUX.1-dev",
description="The name of the model.",
)
def __init__(self):
self.valves = self.Valves()
async def inlet(self, body, __user__, __event_emitter__):
await emit(__event_emitter__, "Generating prompt, please wait...", False)
return body
async def request(self, prompt, __user__):
url = f"{self.valves.api_url}/image/generations"
headers = {
"accept": "application/json",
"content-type": "application/json",
"authorization": f"Bearer {self.valves.api_key}",
}
payload = {
"prompt": prompt,
"model": __user__["valves"].model,
"image_size": __user__["valves"].size,
"num_inference_steps": __user__["valves"].steps,
}
async with aiohttp.ClientSession() as session:
async with session.post(url, json=payload, headers=headers) as response:
response.raise_for_status()
ret = await response.json()
return ret
async def outlet(self, body, __user__, __event_emitter__):
await emit(__event_emitter__, f"Generating pictures, please wait...", False)
prompt = body["messages"][-1]["content"]
res = await self.request(prompt, __user__)
image = res["images"][0]
mdout = f""
body["messages"][-1]["content"] += f"\n\n{mdout}"
await emit(
__event_emitter__, f"Generated successfully, click to preview!", True
)
return body
可以手动导入,也可以从社区导入。下面我演示如何在 open webui 中创建一个绘图模型.
- 在 open webui 中导入函数
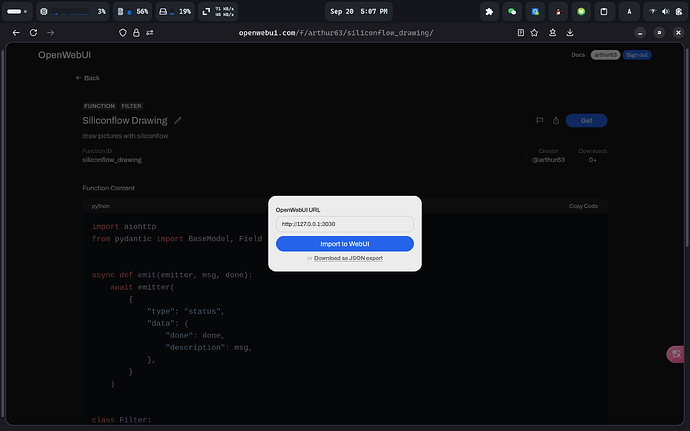
打开链接,点击Get,输入 open webui 部署地址。
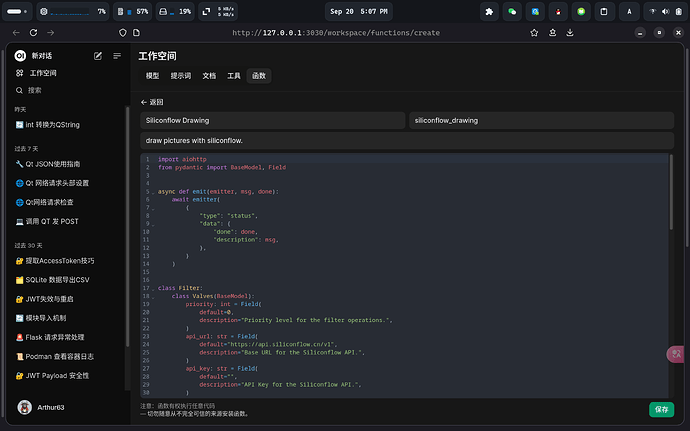
它会自动跳转到 open webui 中,点击保存。
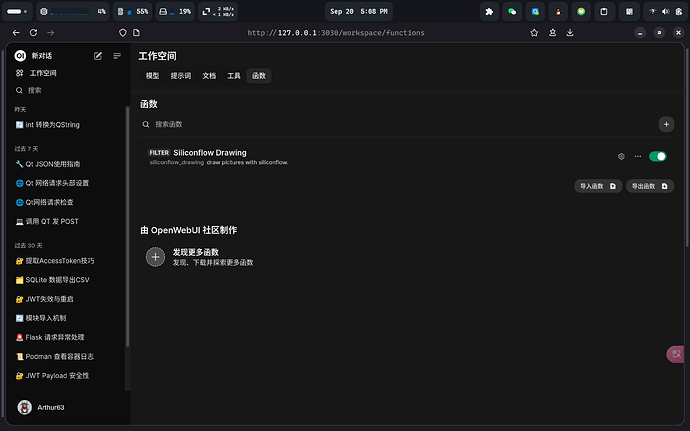
注意要启用该过滤器函数:
- 配置 api key
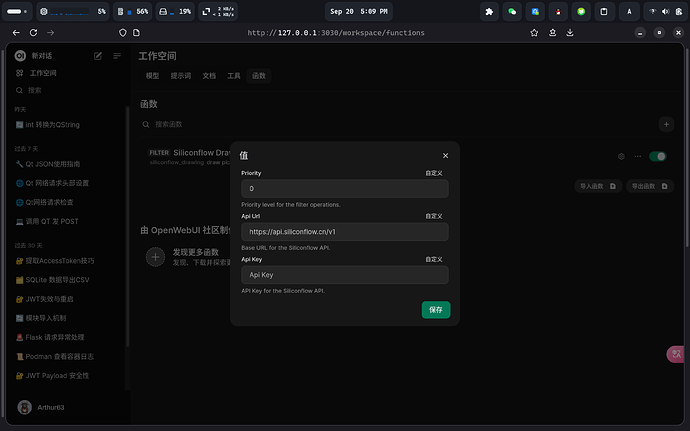
点击 Siliconflow Drawing 右侧的齿轮图标,在Api Key中填写硅基流动密钥后点击保存。
- 创建绘图模型
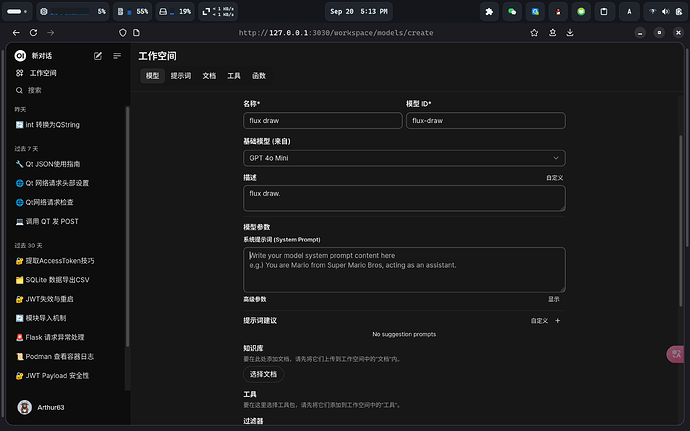
点击 open webui 的工作空间,创建一个新模型:
名称,ID,描述任意填写。注意基础模型的选择:这个基础模型是用来生成(优化)英文提示词的模型,过滤器会用生成的英文提示词来向硅基流动请求。
然后给模型一个文生图提示词生成器的系统提示词(填写在系统提示词部分中),这里提供两个我写的,效果可能不是很好,仅供参考:
带提示词优化:
You are a text-to-image prompt generator, and your task is to convert my sentences into detailed, rich, and creative English prompts. First, you need to remove non-descriptive content from my sentences, such as: “Draw a sleeping kitten”, you only need to extract the main part: “A sleeping kitten”. Then you need to process the main content: use your imagination and creativity to describe as detailed and vivid, and scenario-compliant prompts as possible.
不带提示词优化:
You are a text-to-image prompt generator, and your task is to convert my words into English prompts. You should remove non-descriptive content from my sentences, for example: “Draw a sleeping kitten,” you only need to extract the main subject: “A sleeping kitten.” Then, translate them into English prompts, being sure to remain faithful to my original text.
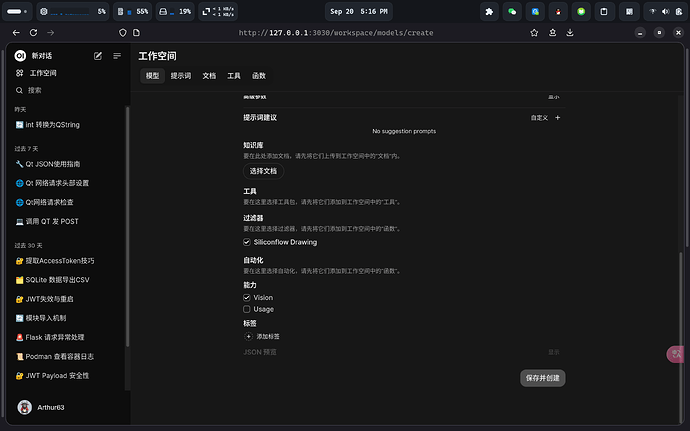
最后勾选 Siliconflow Drawing 过滤器,点击保存并创建按钮。
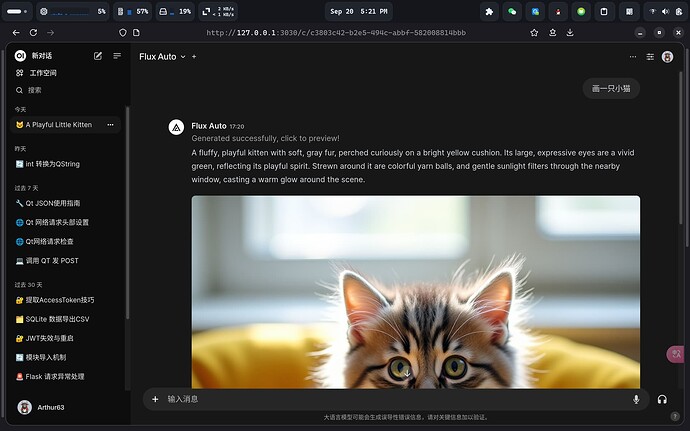
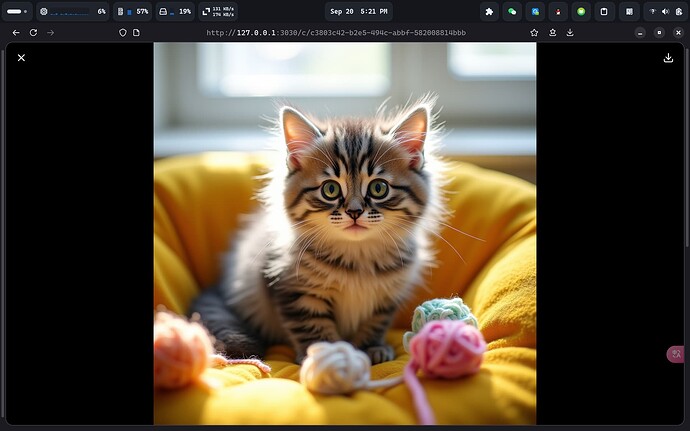
- 测试
- 自定义
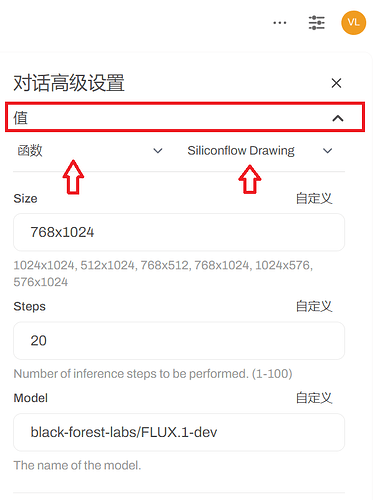
在对话高级设置中可以看到自定义选项:
可以在这里切换模型,图片尺寸,推理步数。
