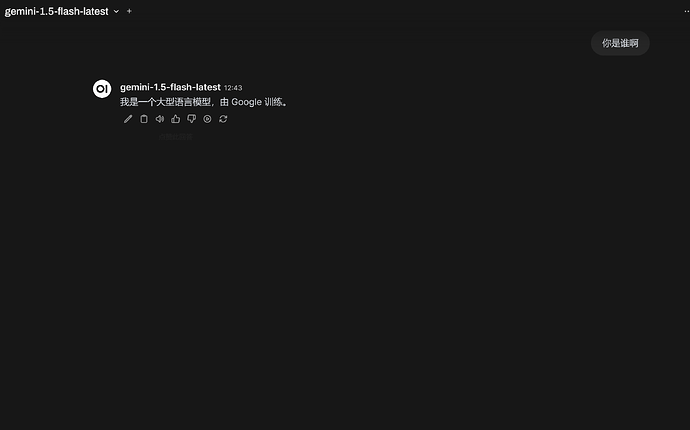
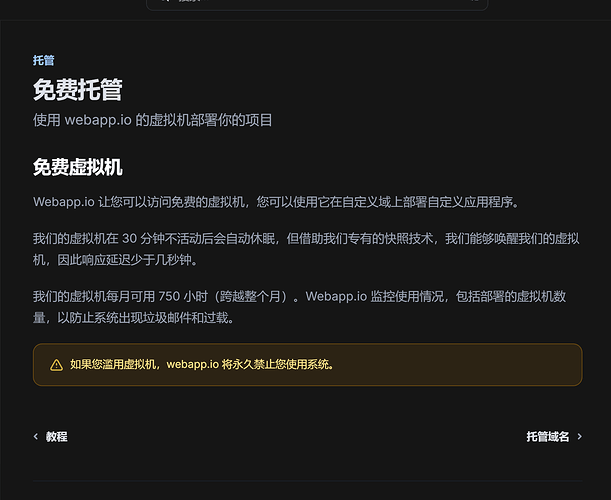
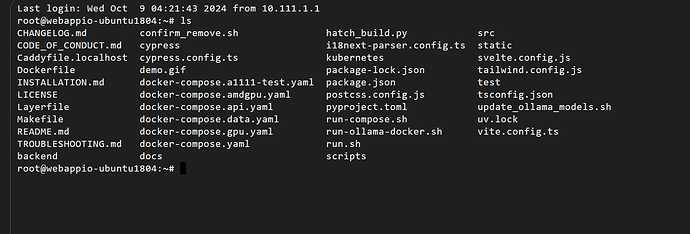
首先感谢 @zmone 推荐的容器网站和 @TheSmallHanCat 赠送的域名 ![]()
项目地址:
免费容器网址:
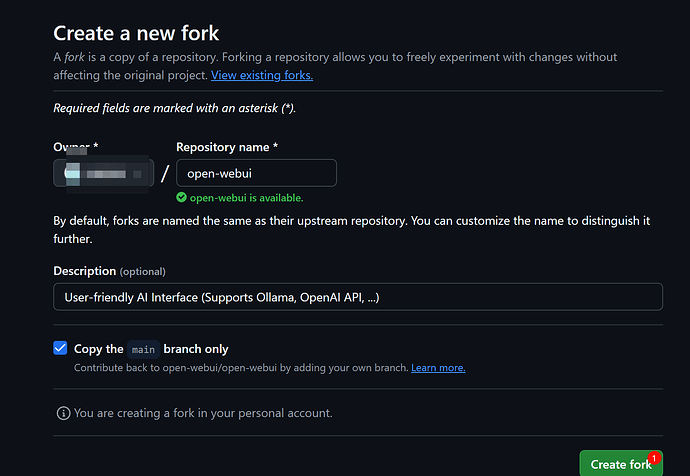
1.在GitHub上fork该项目
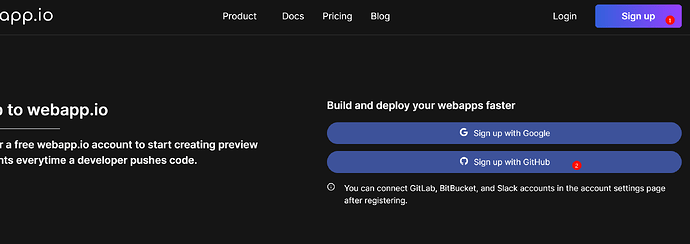
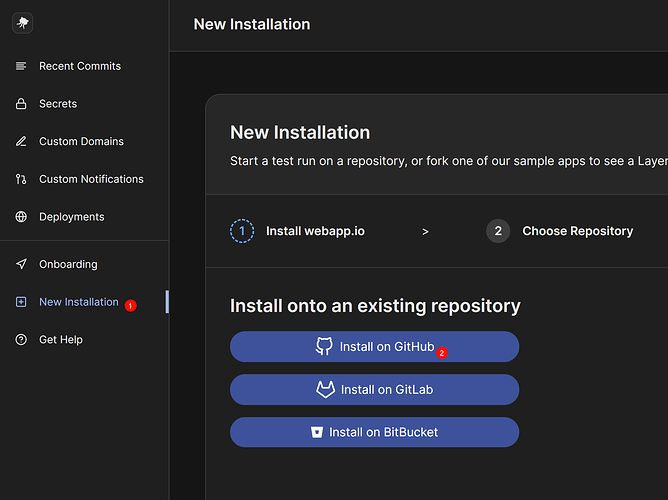
2.注册webapp账号
3.设置网站参数
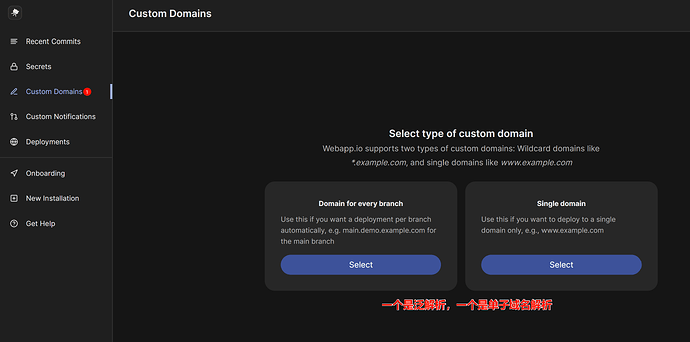
4.添加绑定在cloudflare的自定义域名
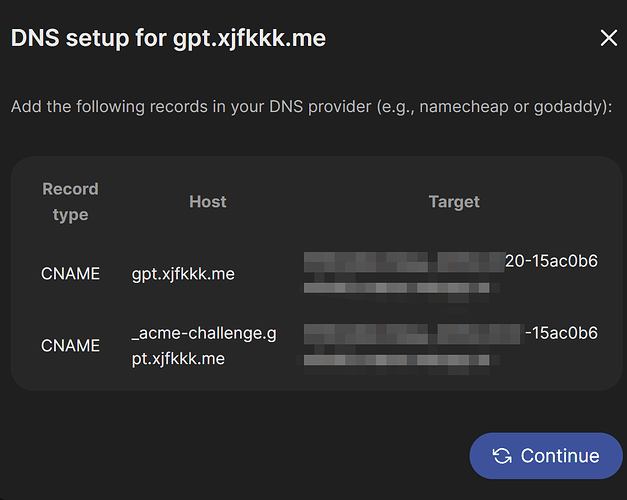
我以单子域名为例,将所需的cname记录添加至cloudflare中
先不要开小黄鱼,最后部署完才打开
域名非泛解析不要开小黄鱼
强调一下:建议先泛域名解析,在后面用域名部署服务时不要勾选login,这样可以避免重定向至容器官网
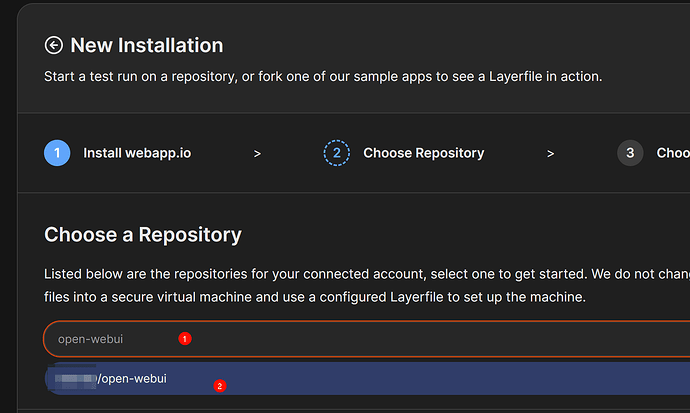
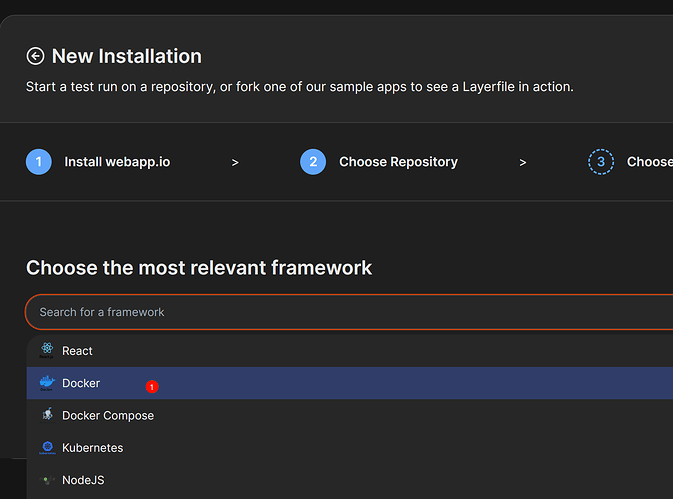
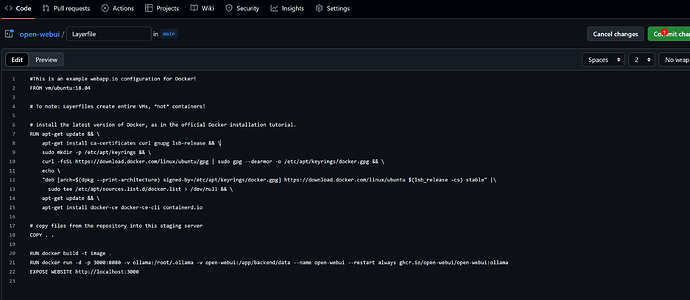
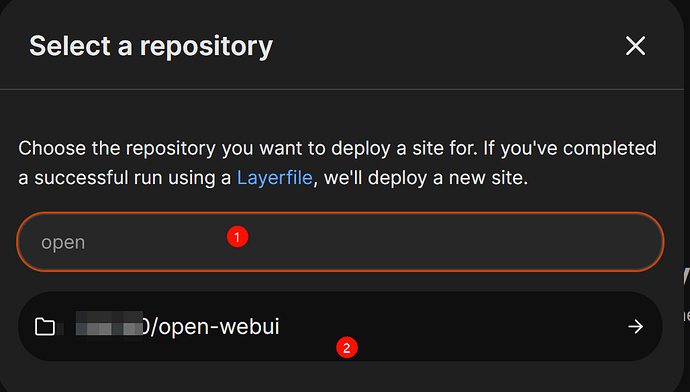
5.创建open-webui项目
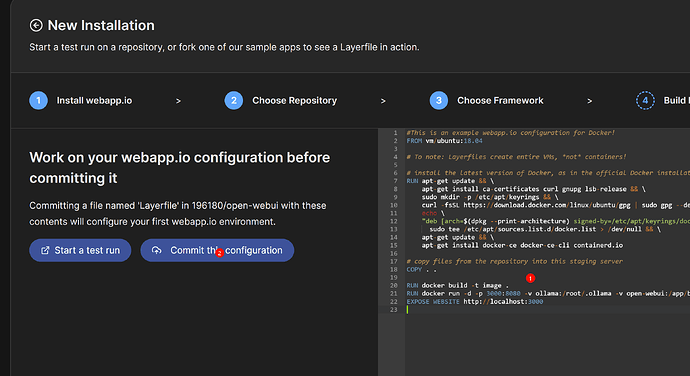
将代码进行替换并添加构建架构
#This is an example webapp.io configuration for Docker!
FROM vm/ubuntu:18.04

# To note: Layerfiles create entire VMs, *not* containers!

# install the latest version of Docker, as in the official Docker installation tutorial.
RUN apt-get update && \
    apt-get install ca-certificates curl gnupg lsb-release && \
    sudo mkdir -p /etc/apt/keyrings && \
    curl -fsSL https://download.docker.com/linux/ubuntu/gpg | sudo gpg --dearmor -o /etc/apt/keyrings/docker.gpg && \
    echo \
    "deb [arch=$(dpkg --print-architecture) signed-by=/etc/apt/keyrings/docker.gpg] https://download.docker.com/linux/ubuntu $(lsb_release -cs) stable" |\
      sudo tee /etc/apt/sources.list.d/docker.list > /dev/null && \
    apt-get update && \
    apt-get install docker-ce docker-ce-cli containerd.io

# copy files from the repository into this staging server
COPY . .

RUN docker build -t image .
RUN docker run -d -p 3000:8080 -v ollama:/root/.ollama -v open-webui:/app/backend/data --name open-webui --restart always ghcr.io/open-webui/open-webui:ollama
EXPOSE WEBSITE http://localhost:3000
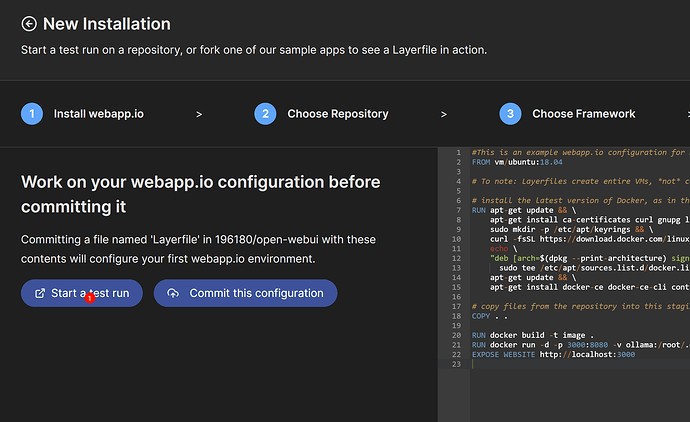
开始试运行
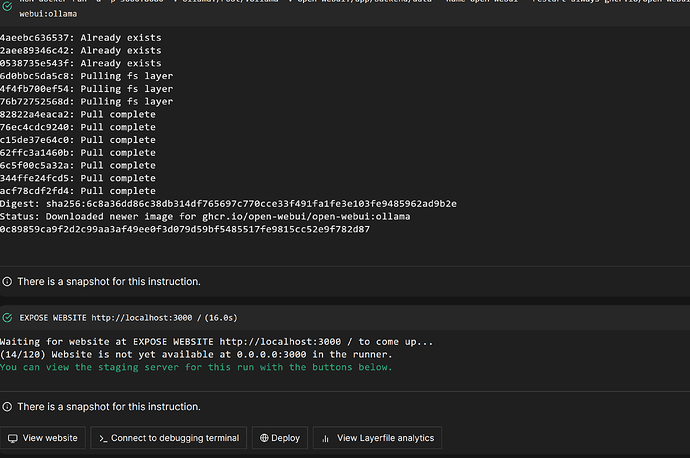
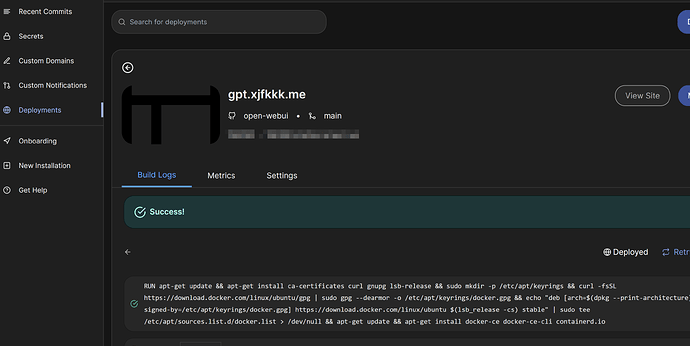
等待构建完成
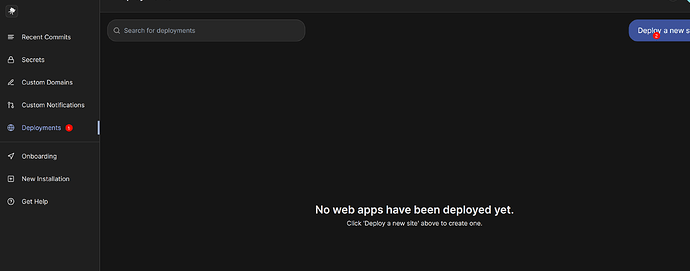
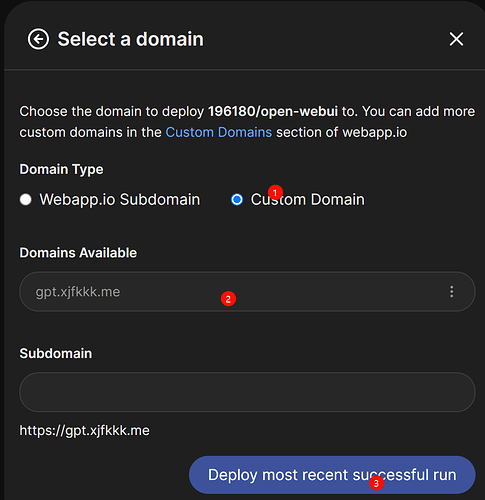
6.部署网站
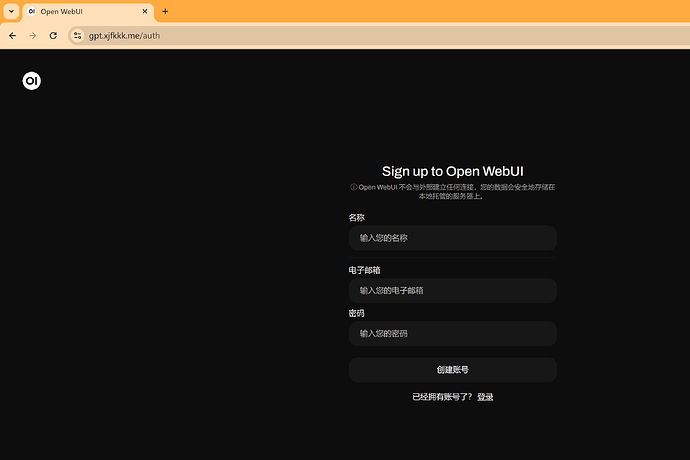
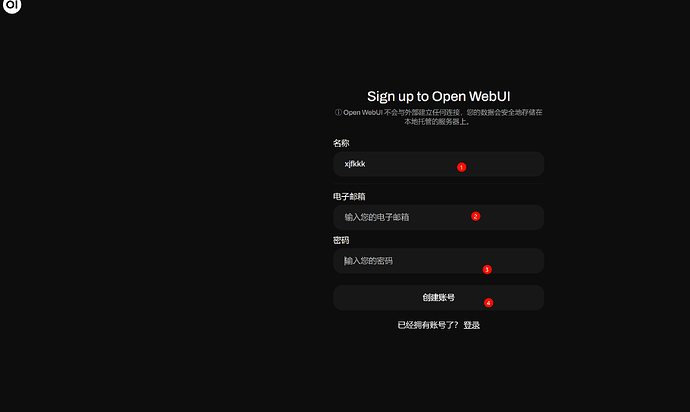
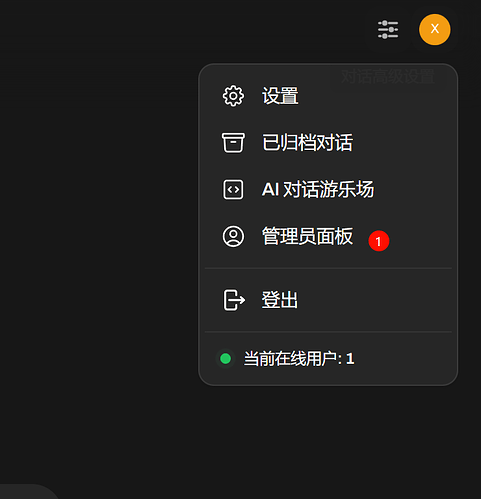
7.访问你的网站并设置管理员
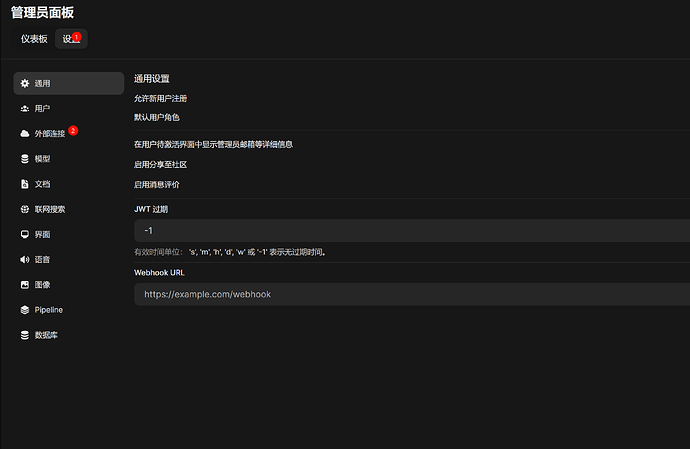
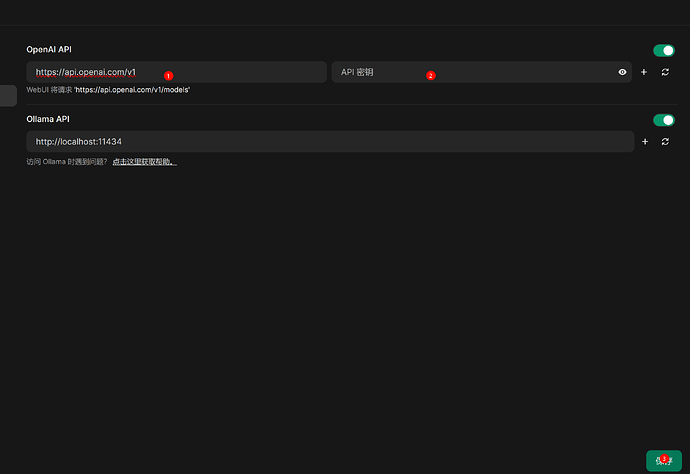
8.配置你的API
填写你的地址及密钥即可
大成
这个容器网站可玩性非常高,抛砖引玉,等各位佬开发
说是一个月750小时可用
定时访问防止休眠

