用谷歌账号就能建立的个人博客 - #15,来自 ElonMusk 佬推荐的 NotionNext非常香
之前我以为Google提供的blog已经不错了,没想到早已被遗弃,现在是 NotionNext的时代(笑
- 教程:Vercel部署NotionNext | NotionNext帮助文档
- 项目: GitHub - tangly1024/NotionNext: 使用 NextJS + Notion API 实现的,支持多种部署方案的静态博客,无需服务器、零门槛搭建网站,为Notion和所有创作者设计。 (A static blog built with NextJS and Notion API, supporting multiple deployment options. No server required, zero threshold to set up a website. Designed for Notion and all creators.)
下面是我的复刻步骤:
-
注册登陆您的Notion账号:https://www.notion.so/
-点击下方链接,打开模板:Notion – The all-in-one workspace for your notes, tasks, wikis, and databases. -
在右上角点击Duplicate复制模板:
-
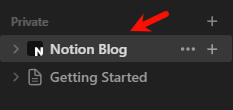
复制后跳转界面,点击笔记:
-
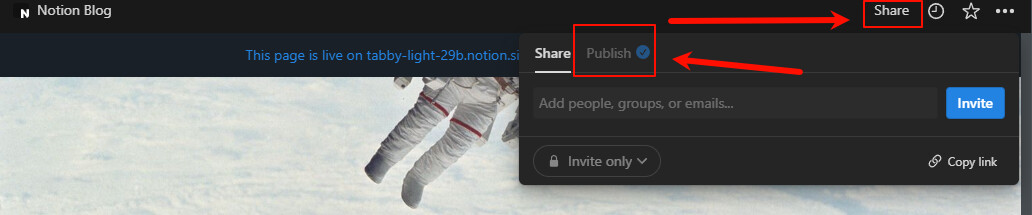
获取分享网址: Share →Published →Share To Web, 开启页面分享,获取共享链接
-
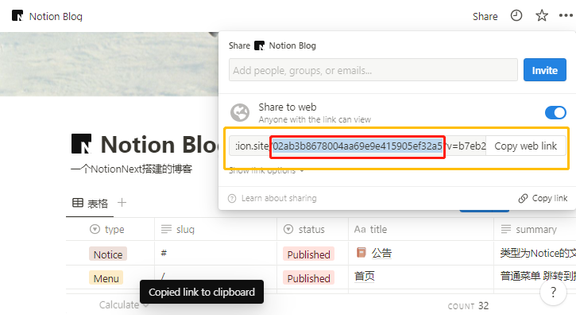
截取页面ID: 页面ID在您的共享链接中、域名中间的一串32位字母与数字
共享链接 其中?v=前面的部分:
-
fork 项目到自己仓库:https://github.com/tangly1024/NotionNext/fork
-
将仓库中的 NotionNext 导入Vercel:New Project – Vercel
-
Environment Variables (环境变量)中添加一个属性名称为
NOTION_PAGE_ID, 值为获取的页面ID -
点击
Deploy按钮等待部署完成 -
在Vercel控制面板中找到
Setting→Domains→Add绑定自定义域名 -
在cloudflare中用 CNAME 将子域名解析到 cname.vercel-dns.com