白嫖腾讯云EdgeOne Pages托管Hugo博客 - 资源荟萃 - LINUX DO
看到佬友这个链接心痒难耐,自己配置了一番,写了个经验。
展示

我的第一篇博客 搭建博客教程
一、前期准备
需要:
- GitHub账号一个
- 腾讯云账号一个(或者cloudflare)
我这里博客是使用的腾讯云国际版的静态网页托管,其实除此之外,还可以使用GitHub的action和cloudflare的pages等等,都是免费的。(虽然不太相信腾讯的说>︿<,但是不薅白不薅(~ ̄▽ ̄)~)
注:腾讯云不用’完成注册’,有个账号就行了,什么电话卡和银行卡我都没绑(如果他不让你登录就直接点下面page创建链接即可,真恶心啊腾讯(σ`д′)σ
并且推荐一个up主的安装视频,不想看文字的可以按照他的来,我基本就是按照他的来
二、hugo安装
先到GitHub上下载releases
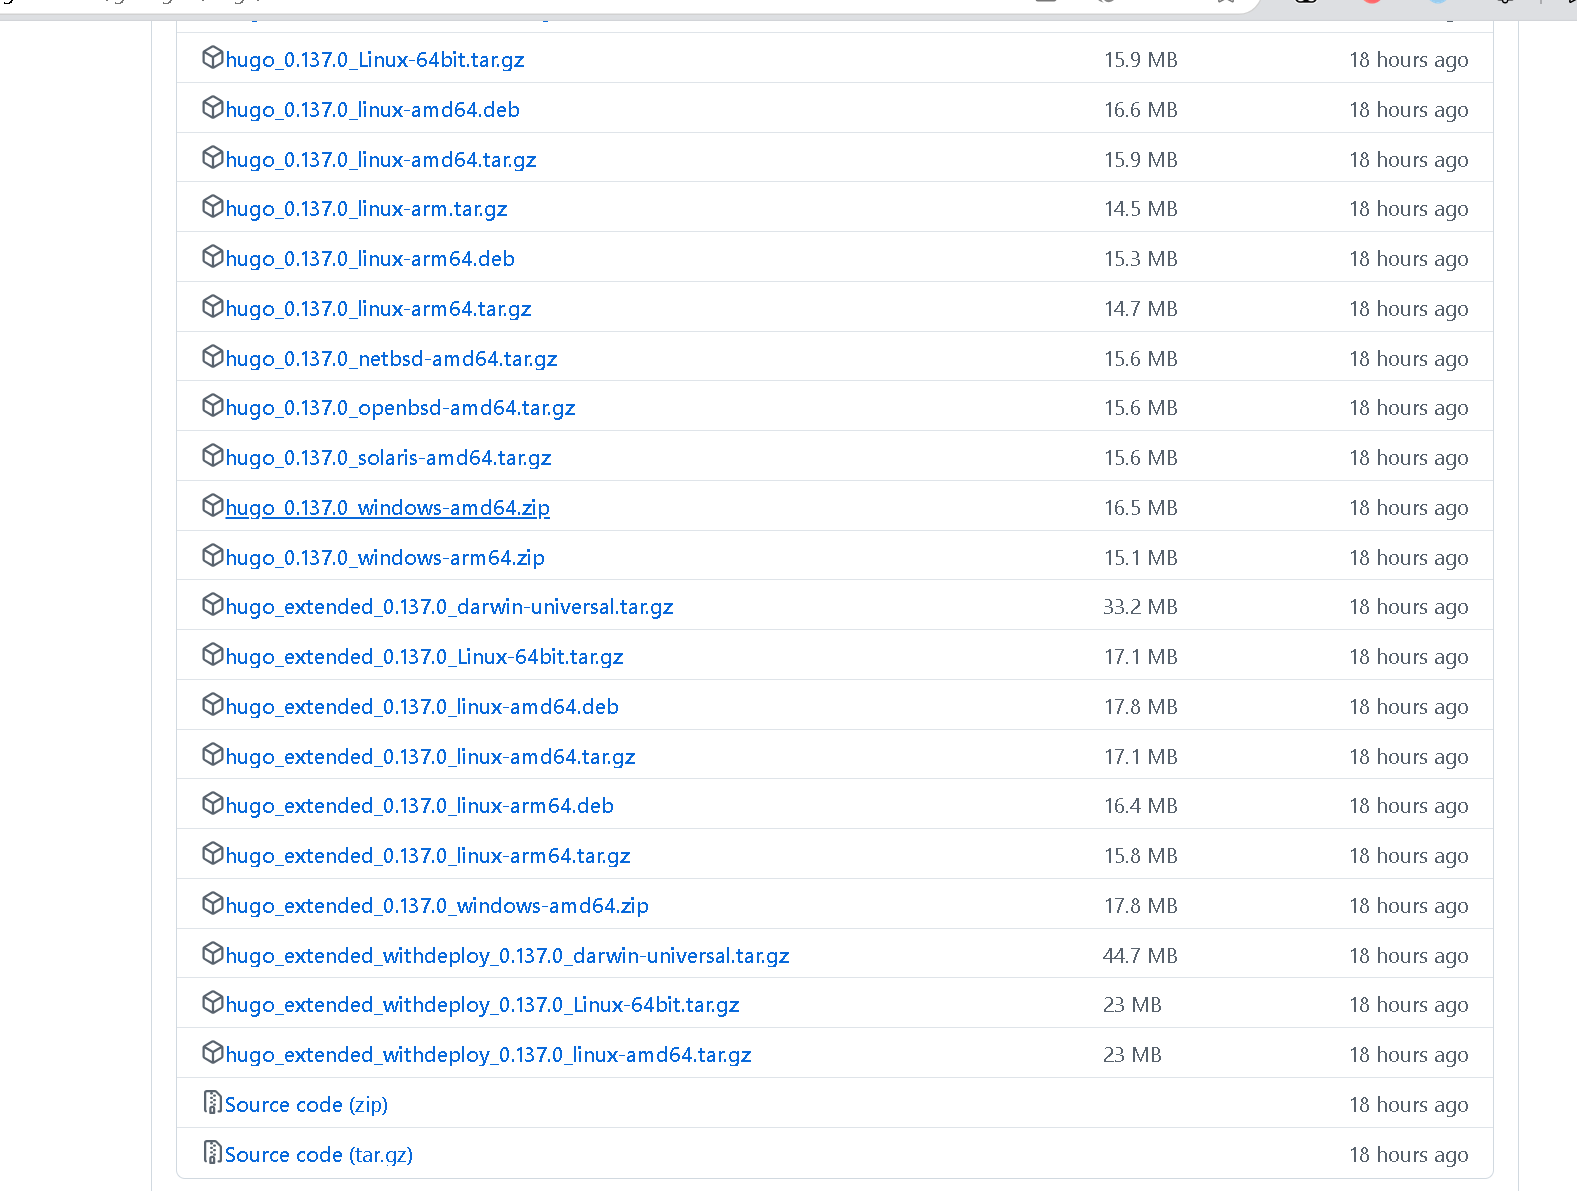
记得选择windows amd64
下载解压后就有了一个hugo.exe,十分方便,不用配置其他环境
三、博客搭建
1. 创建
首先使用命令
hugo new site 文件夹名
比如我就是
hugo new site lublog
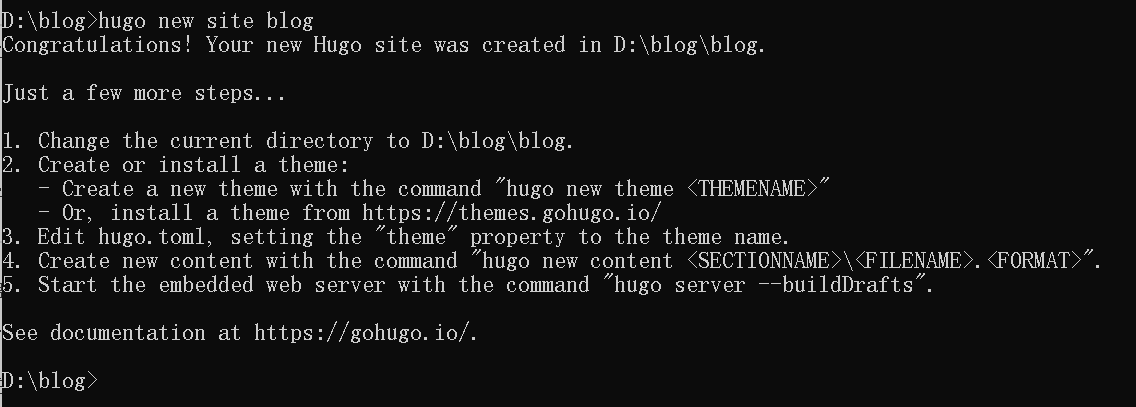
这样就搭好初始框架了,接下来吧hugo.exe复制到blog文件夹内,不复制会导致后面命令执行失败喵。上面介绍就是官方给的教程
Just a few more steps…
- Change the current directory to D:\blog\blog.
- Create or install a theme:
- Create a new theme with the command “hugo new theme ”
- Or, install a theme from https://themes.gohugo.io/
- Edit hugo.toml, setting the “theme” property to the theme name.
- Create new content with the command “hugo new content .”.
- Start the embedded web server with the command “hugo server --buildDrafts”.
See documentation at https://gohugo.io/.
2. 主题
去官网下个漂亮的主题吧!我选择的是Stack | Hugo Themes,官方demoHugo Theme Stack Starter
(主要是b站的那个up主对这个主题有所优化,跟着配置很方便呢。)
选择download下载,进入release下载source code
[release] https://github.com/CaiJimmy/hugo-theme-stack/archive/refs/tags/v3.29.0.zip
把他放在themes文件夹内,并且改名(把后面改掉)
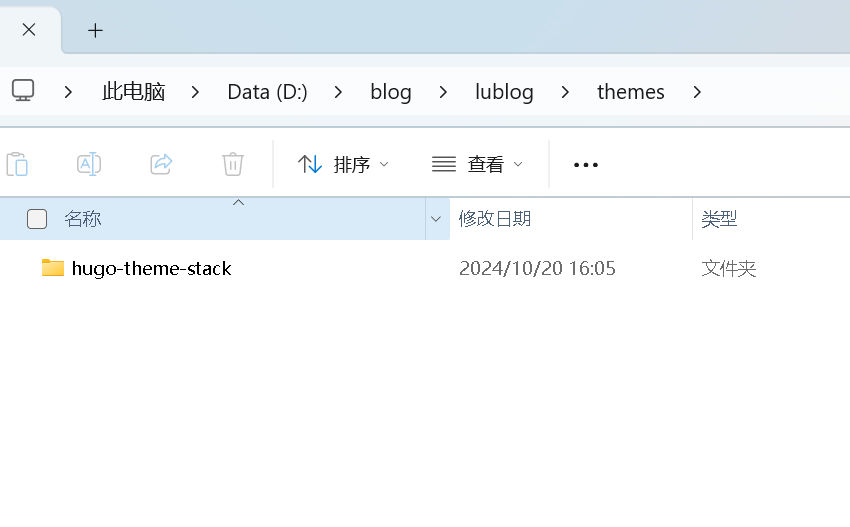
改名后复制.\themes\hugo-theme-stack\exampleSite中的hugo.yaml到主文件夹目录(也就是site名称文件夹下,跟跟theme,hugo.exe同级)
3. 创建文章
首先把主题archetypes下面的default.md复制到主文件archetypes目录下,我这里把主文件改了名防止换主题时找不到。
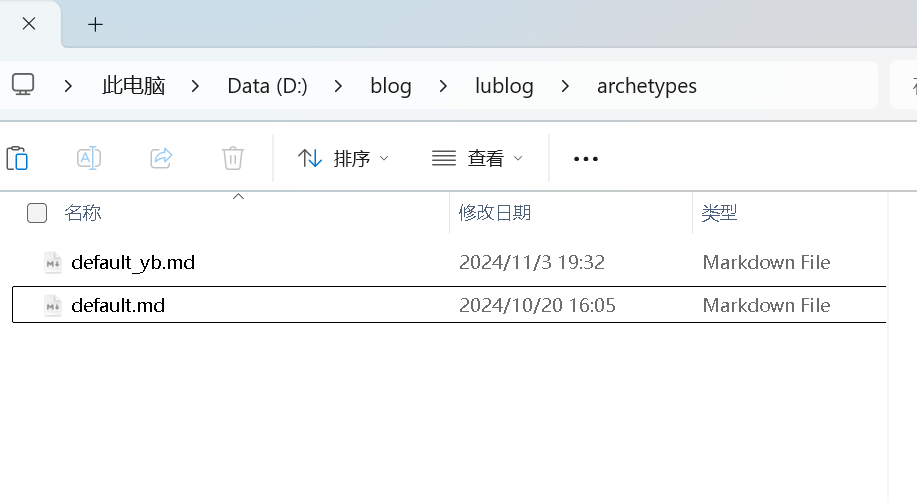
当然,如果你想要原版的也完全可以。
并且把你的md格式图片改为相对路径上传:
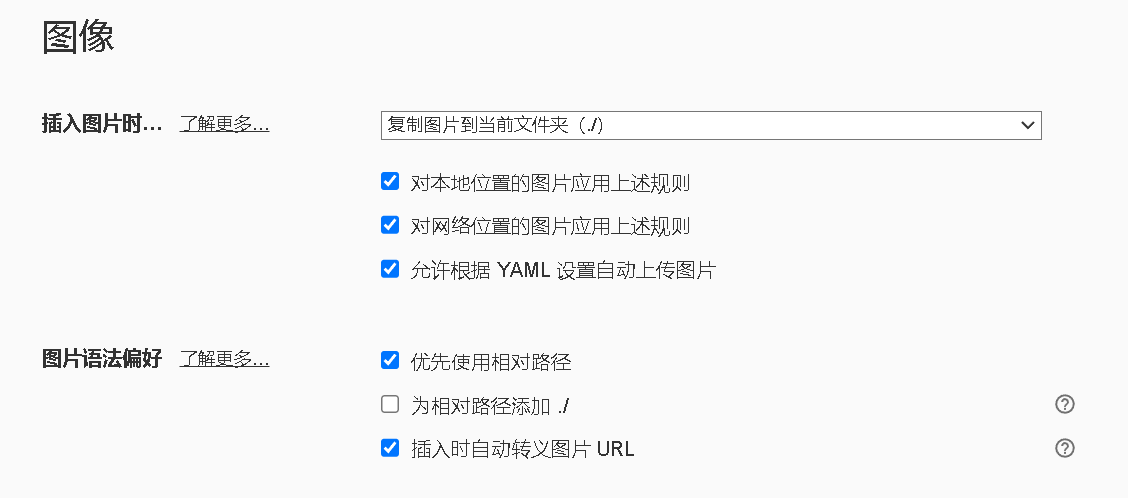
相信我,这很重要
接下来
hugo new content <FILENAME>.
我使用的是 hugo new content post\搭建博客教程\index.md
这就是我为啥写这篇文章的原因了(笑
4. 测试运行
hugo server -D
检查你的博客
四、腾讯托管
1. 上传GitHub
我是使用GitHub Desktop直接上传了,你也可以使用git命令上传至仓库
首先初始化
git init
git add .
然后commit并在GitHub上新建仓库
git commit -m “注释说明”
然后关联仓库
git remote add origin 仓库地址
最后pull
git push -u origin master
2. 腾讯云添加
登录腾讯云控制台,然后选择开始pages,选择创建pages,接着需要绑定你的GitHub账号,然后选择创建项目
并在编译命令中使用HUGO_ENV=production hugo(这个不添加也能创建成功,但我发现部署后点击自己的域名无法访问博客文章,出现的都是下载,添加后消失)
注:这个编译命令可以后期再改的,不需要删除项目后改。

部署成功后添加自定义域名(可省略,因为腾讯也会给个域名.edgeone.app)
点击添加自定义域名,然后在cloud flare上使用腾讯给的cname(建议使用严格的ssl)
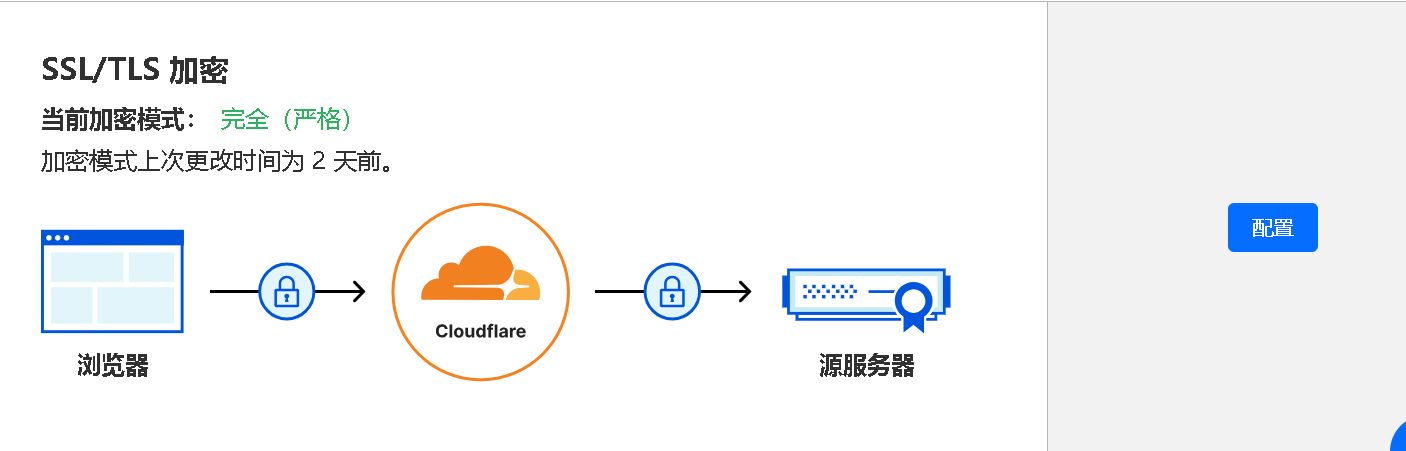
最后在腾讯这边点击验证,等待腾讯给你创建证书(大概5~10分钟)。
创建完毕后就可以访问了。
注:更新博客需要上传到GitHub然后重新部署
五、友链添加
打开\content\page\links
里面显示
To use this feature, add links section to frontmatter.
This page’s frontmatter:
links:
- title: GitHub
description: GitHub is the world’s largest software development platform.
website: https://github.com
image: https://github.githubassets.com/images/modules/logos_page/GitHub-Mark.png - title: TypeScript
description: TypeScript is a typed superset of JavaScript that compiles to plain JavaScript.
website: https://www.typescriptlang.org
image: ts-logo-128.jpg
image field accepts both local and external images.
直接添加,如果想删除github就把title前面的删除掉:
title: 友链
menu:
main:
weight: -50
params:
icon: link
comments: false # 关闭评论
links: # 将所有友链放在一个links数组中
- title: GitHub
description: GitHub is the world’s largest software development platform.
website: https://github.com
image: https://github.githubassets.com/images/modules/logos_page/GitHub-Mark.png - title: TypeScript
description: TypeScript is a typed superset of JavaScript that compiles to plain JavaScript.
website: https://www.typescriptlang.org
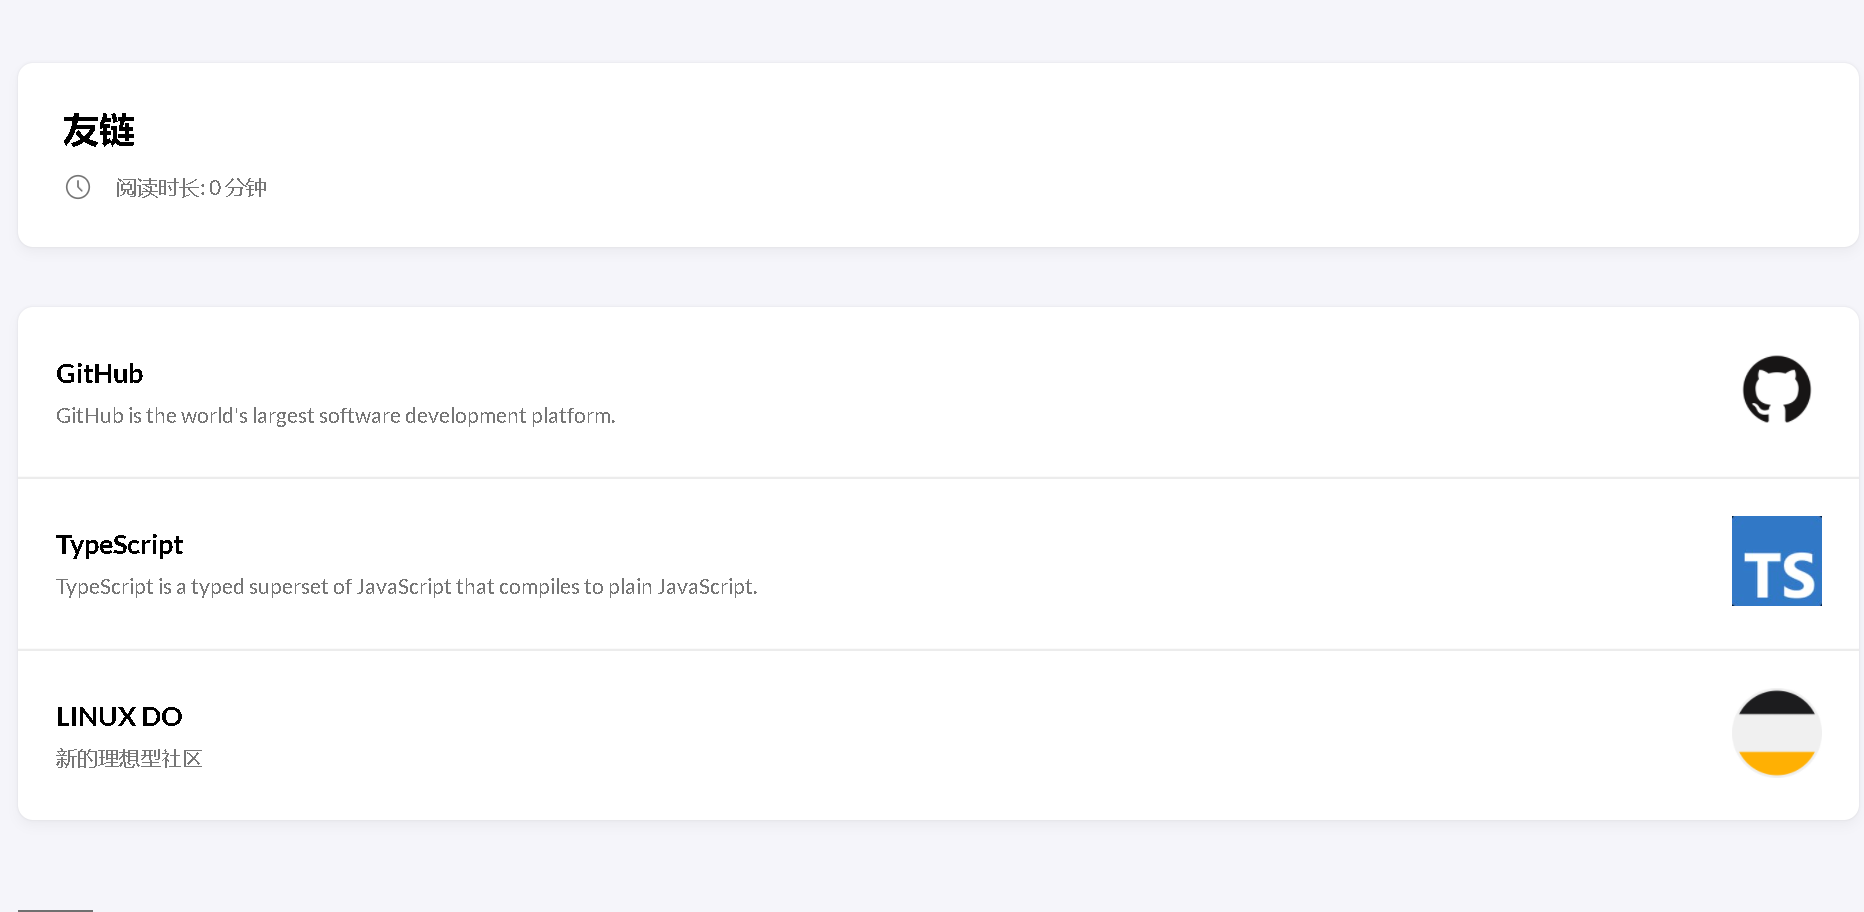
image: ts-logo-128.jpg - title: LINUX DO
description: 新的理想型社区
website: LINUX DO - 新的理想型社区
image: https://image.luweb.us.kg/file/1730822037984_image.png
这样就添加成功了,不过linuxdo的图片我莫名其妙下载不了,我就干脆上传到我的图床上,然后再放进去,可以成功加载
