TL;DR
Ripper/Copilot后端代理服务 可实现 Override同等功能,可适配最新版Copilot Chat。
前情提要
始皇撅了Copilot后, Override 搭配Copilot 成为了日常开发的重要助手。
【重磅】让我再撅Github Copilot一次 - 资源荟萃 - LINUX DO
但是自从 VS Code 更新到1.95以后,Copilot Chat 与 Override对接总是报错。
升级到最新版本的Visual Studio Code后无法使用。 · Issue #68 · linux-do/override
遂寻求Override的替代方案,找到了Ripper/Copilot后端代理服务 ,使用体验可无缝衔接,适配最新版Copilot Chat。
那么,怎么使用呢?
超级懒人版教程(免部署,Copilot 平替公车)
VS Code 设置
{
    "github.copilot.advanced": {
        "authProvider": "github-enterprise",
        "debug.overrideCAPIUrl": "https://api.mycopilot.noteo.cn",
        "debug.overrideProxyUrl": "https://copilot-proxy.mycopilot.noteo.cn",
        "debug.chatOverrideProxyUrl": "https://api.mycopilot.noteo.cn/chat/completions",
        "debug.overrideFastRewriteEngine": "v1/engines/copilot-centralus-h100",
        "debug.overrideFastRewriteUrl": "https://api.mycopilot.noteo.cn"
    },
    "github-enterprise.uri": "https://mycopilot.noteo.cn"
}
其他IDE参见 Copilot 配置指南
懒人版教程(自行部署服务,自定义API)
1. 部署Docker服务
下载 docker-compose.yml 文件下载到本地, 将里面的 API KEY 替换。
- CODEX_API_BASE=https://api.deepseek.com/beta/v1/completions # 代码补全API地址
- CODEX_API_KEY=sk-xxx # 代码补全API密钥, 支持多个轮询APIKEY,用英文逗号分隔
- CODEX_API_MODEL_NAME=deepseek-chat # 代码补全API模型名称

- CHAT_API_BASE=https://api.deepseek.com/v1/chat/completions # 聊天补全API地址
- CHAT_API_KEY=sk-xxx # 聊天补全API密钥
- CHAT_API_MODEL_NAME=deepseek-chat # 聊天补全API模型名称
Docker 启动!
# 启动服务
docker compose up -d

# 查看日志
docker logs copilot-app

# 停止服务
docker compose down
2. 修改本机host
127.0.0.1 mycopilot.com
127.0.0.1 api.mycopilot.com
127.0.0.1 copilot-proxy.mycopilot.com
127.0.0.1 copilot-telemetry-service.mycopilot.com
在服务器部署,请将127.0.0.1替换为你的服务器ip。
自有域名设置,请参照 此文档
3. 设置VS Code
修改 VS Code 的 settings.json 文件, 添加以下配置:
"github.copilot.advanced": {
    "authProvider": "github-enterprise",
    "debug.overrideCAPIUrl": "http://api.mycopilot.com:1188",
    "debug.overrideProxyUrl": "http://copilot-proxy.mycopilot.com:1188",
    "debug.chatOverrideProxyUrl": "http://api.mycopilot.com:1188/chat/completions",
    "debug.overrideFastRewriteEngine": "v1/engines/copilot-centralus-h100",
    "debug.overrideFastRewriteUrl": "http://api.mycopilot.com:1188"
},
"github-enterprise.uri": "http://mycopilot.com:1188"
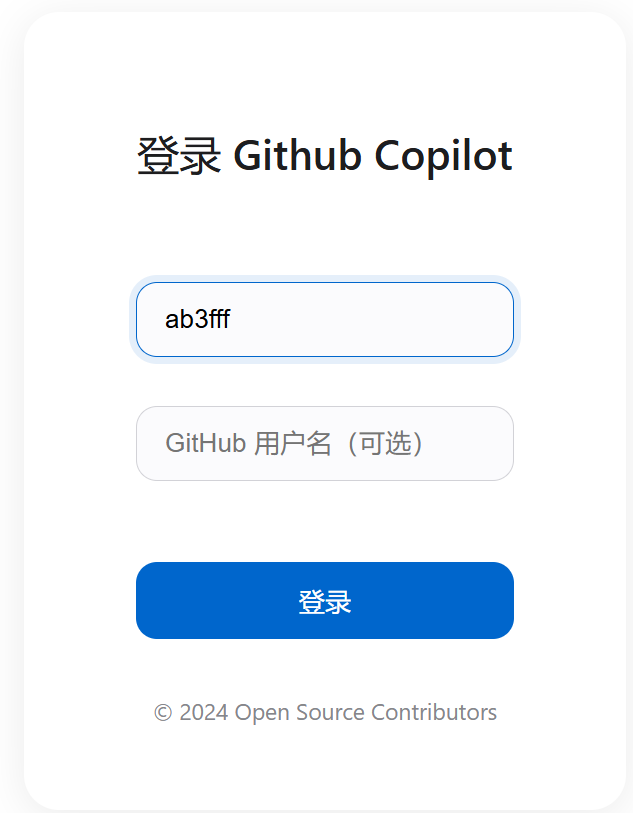
4. Copilot 插件登录
安装Copilot插件,点击登录

vscode 弹出选项,继续点击

跳转到网页,点击登录